MOBILE MOTORCYCLE DETAILING IN LOS ANGELES
How to Wash a Motorcycle Without Scratching the Finish
Learn how to remove dirt and road grime while protecting your motorcycle’s paint, chrome, plastics, and clear coat.
Browse Motorcycle Care Guides
How to Wash a Motorcycle Without Scratching the Finish
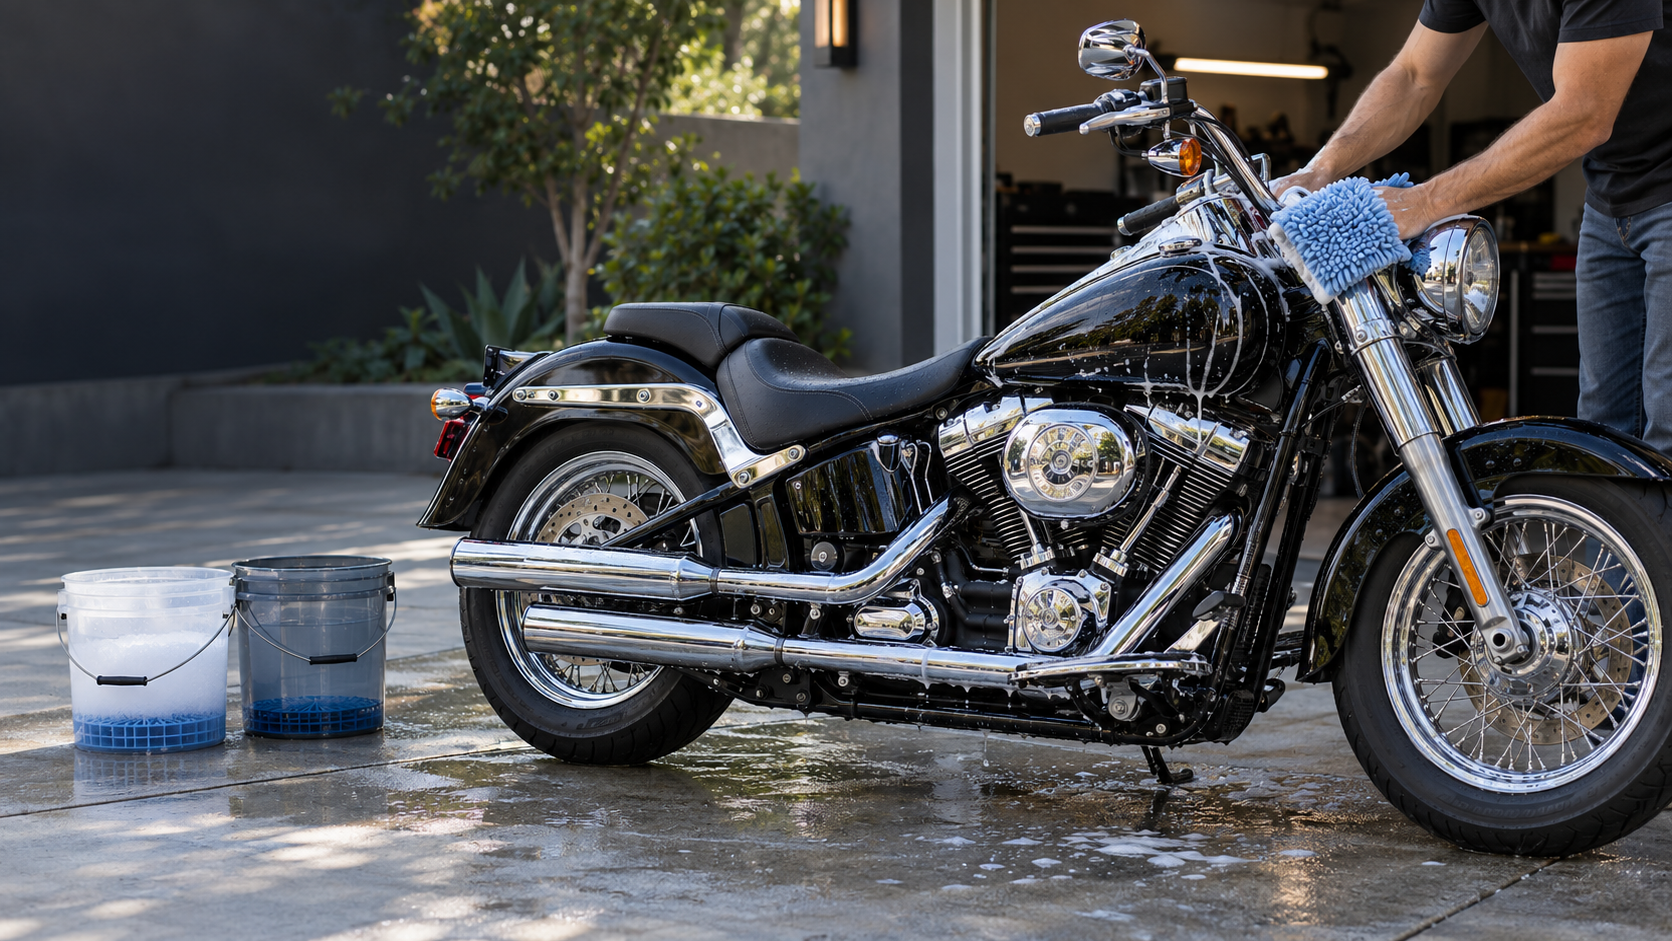
To wash a motorcycle without scratching the finish, you need to remove loose dirt before touching the bike, use clean washing tools, and keep wheel grime away from painted surfaces. Most wash scratches come from rubbing dirt across the finish rather than from the water itself.
This guide explains how to clean your motorcycle while protecting its paint, chrome, plastics, windshield, and other surfaces.
What Causes Scratches During Washing?
Dirt, sand, brake dust, and road grit can act like abrasive material when trapped between a towel and the motorcycle’s finish.
Common causes of wash scratches include:
- Wiping a dusty motorcycle without rinsing it
- Using dirty towels or wash mitts
- Scrubbing dried bugs or road tar
- Washing paint with a wheel brush
- Using stiff brushes or rough sponges
- Applying too much pressure
- Using household cleaners
- Drying with old bath towels
- Washing in direct sunlight
- Using the wrong product on matte paint or plastics
Indian Motorcycle advises against removing dust with a dry cloth or using stiff brushes, abrasive cleaners, solvents, and extremely hot water on clear-coated surfaces.
Tools and Products You’ll Need
Use clean tools made for automotive or motorcycle surfaces:
- Motorcycle-safe wash soap
- Two clean buckets
- Grit guards, if available
- Soft microfiber or wool wash mitt
- Separate wheel and spoke brushes
- Soft detailing brushes
- Microfiber drying towels
- Motorcycle-safe bug remover
- Cleaner approved for the windshield
- Surface-appropriate wax or sealant
- Filtered motorcycle dryer, if available
Keep separate towels and brushes for the wheels, engine, exhaust, and painted surfaces. Marking or color-coding them can prevent mix-ups.
Why Use Two Buckets?
Fill one bucket with motorcycle-safe soap and water. Fill the second with clean rinse water.
After washing a section of the motorcycle, rinse the dirty mitt in the clean-water bucket before returning it to the soap bucket. This helps leave dirt in the rinse bucket instead of transferring it back onto the motorcycle.
A grit guard at the bottom of each bucket can help keep settled debris away from the mitt.
Step 1: Park in the Shade and Let the Bike Cool
Park the motorcycle on a stable surface away from direct sunlight. Let the engine, exhaust, wheels, and brakes cool completely.
Water and soap can dry too quickly on hot surfaces, leaving mineral deposits and residue. Cold water on hot metal may also cause spotting or affect some finishes.
Check your owner’s manual for model-specific washing instructions before you begin.
Step 2: Prepare Sensitive Areas
Confirm that the fuel cap, oil cap, spark-plug caps, and other covers are seated correctly.
Avoid directing water toward:
- Air intakes
- Exhaust openings
- Electrical connections
- Instruments
- Speakers
- Wheel bearings
- Steering-head bearings
- Suspension seals
- Luggage seams
Indian Motorcycle warns that pressurized water can enter bearings, brake parts, electrical connectors, suspension components, and seals. It recommends low-pressure water and limited water around air intakes and exhaust openings.
Step 3: Rinse Away Loose Dirt
Rinse the motorcycle gently before touching the paint. The goal is to remove as much loose dust, sand, and road grit as possible.
Work around the motorcycle and rinse:
- Painted panels
- Windshield
- Headlight
- Forks
- Wheels
- Fenders
- Frame
- Engine surfaces
- Lower sections
Don’t aim a concentrated stream of water at seals, bearings, electrical components, or intake openings.
Step 4: Soften Bugs and Stuck-On Grime
Don’t scrape dried bugs, tar, or road residue from the surface. Apply a motorcycle-safe cleaner approved for the material and allow it to soften the contamination.
You can also place a damp microfiber towel over dried bug residue for several minutes. Once softened, remove it gently with a clean mitt or microfiber towel.
BMW recommends softening stubborn dirt and insects with a wet cloth and using a soft sponge with plenty of water on plastic windshields and lenses.
Step 5: Clean the Wheels First
Wheels often carry the heaviest concentration of brake dust, grease, and road dirt. Cleaning them first prevents dirty wheel water from splashing onto paint you have already washed.
Use:
- A cleaner approved for the wheel finish
- A dedicated wheel brush
- A separate spoke brush
- Separate microfiber towels
Rinse the wheels thoroughly before moving to the painted surfaces.
Don’t use aggressive wheel cleaner on polished, anodized, coated, or painted wheels unless the product label confirms compatibility.
Step 6: Wash From the Top Down
Soak the clean wash mitt in the soap solution. Begin with the least dirty upper sections and work toward the lower areas.
A practical order is:
- Windshield and upper fairing
- Fuel tank
- Painted side panels
- Seat and luggage surfaces
- Front and rear fenders
- Frame and suspension
- Engine and lower areas
- Exhaust
Use straight, gentle passes rather than heavy circular scrubbing. Rinse the mitt frequently in the clean-water bucket.
If the mitt falls on the ground, don’t place it back on the motorcycle. Replace it with a clean mitt.
Step 7: Treat Each Surface Correctly
Motorcycles combine materials that require different cleaning methods.
Gloss Paint
Use non-abrasive, pH-neutral soap and a soft wash mitt. Don’t use cutting compounds or polish during a routine wash.
Matte or Denim Paint
Don’t apply conventional wax, polish, or gloss enhancers. These products can create shiny patches that are difficult to reverse.
Follow the motorcycle manufacturer’s care instructions for the specific matte finish.
Chrome and Metal
Use soap during the wash. Apply chrome or metal polish only after identifying the surface and confirming that the product is compatible.
A bare-metal polish can damage chrome or remove a protective coating from aluminum.
Windshield and Clear Plastics
Use a soft cloth, plenty of water, and a cleaner approved for the windshield material. Standard household glass cleaner may damage some motorcycle windshields.
Indian Motorcycle warns that alcohol, petroleum-based cleaners, and some water-repellent products can damage certain motorcycle windshields.
Leather and Vinyl
Use products made for the material. Don’t apply a slick dressing to the seat, grips, or foot controls.
Step 8: Rinse Thoroughly
Rinse away all soap with gentle water pressure. Check the following areas for trapped residue:
- Engine fins
- Wheel spokes
- Fasteners
- Trim edges
- Exhaust mounts
- Badges
- Luggage seams
- Areas around the fuel tank
Soap left on the surface can dry into streaks or spots.
Step 9: Dry Without Adding Scratches
Use clean, soft microfiber drying towels. Place the towel against the surface to absorb water, then move it with light pressure.
Don’t drag a dirty towel across the paint. Change towels if they become soiled or touch the ground.
A filtered motorcycle dryer can remove water from:
- Engine fins
- Spokes
- Mirrors
- Controls
- Fasteners
- Trim
- Areas around badges
Avoid unfiltered compressed air, which can blow oil, moisture, or debris onto the finish.
Step 10: Inspect and Protect the Finish
After drying, inspect the motorcycle under good lighting. Look for:
- Remaining dirt
- Water spots
- Light scratches
- Paint chips
- Oxidation
- Rust
- Loose parts
- Fluid leaks
Apply a compatible wax or sealant to gloss paint if needed. Use surface-specific protection on chrome, bare aluminum, plastics, and leather.
Don’t apply wax, polish, dressing, or protectant to:
- Brake discs
- Brake pads
- Tire tread
- Hand grips
- Foot controls
- Matte paint unless approved
Check the Brakes Before Riding
Water may remain on the brake discs and pads after washing. Test the brakes at low speed in a safe area and allow extra stopping distance until normal braking returns.
Indian Motorcycle instructs riders to confirm that the brakes function correctly after washing.
Can You Use a Pressure Washer on a Motorcycle?
A pressure washer can force water into electrical connectors, bearings, seals, brake components, and other sensitive areas.
The safer option is a regular hose with gentle water pressure. If your motorcycle manufacturer permits pressure washing, follow its distance, pressure, and spray-direction instructions.
How Often Should You Wash Your Motorcycle?
Wash frequency depends on how often you ride, where you park, and the conditions you encounter.
Clean the motorcycle when it has:
- Bug residue
- Brake dust
- Road grime
- Bird droppings
- Coastal residue
- Mud
- Water spots
- Fuel or oil residue
Remove bird droppings, bug residue, and chemical spills promptly. Letting them remain on the surface can make removal harder.
Common Motorcycle Washing Mistakes
Avoid these habits:
- Dry-wiping dust
- Scrubbing before rinsing
- Using dish soap on gloss paint
- Washing in direct sun
- Using one mitt for the entire motorcycle
- Reusing dropped towels
- Applying strong pressure to dirty paint
- Using stiff brushes on plastics
- Polishing matte paint
- Aiming high-pressure water at seals or electronics
- Letting the motorcycle air-dry
- Applying slippery products near tires or brakes
Professional Mobile Motorcycle Washing in Los Angeles
Washing a motorcycle without leaving scratches takes clean tools, surface-specific products, and careful attention to the bike’s small spaces.
Keep It Klean provides mobile motorcycle washing and detailing at homes and workplaces throughout Los Angeles. Services may include:
- Hand washing with de-ionized water
- Wheel and spoke cleaning
- Bug and road-grime removal
- Chrome and metal care
- Engine and exhaust cleaning
- Paint polishing
- Wax or paint sealant
- Leather treatment
Get a Scratch-Safe Motorcycle Wash at Your Location
Let Keep It Klean clean your motorcycle’s paint, chrome, wheels, plastics, and hard-to-reach areas without the hassle of taking it to a shop.
Call 310-412-2277 or request a mobile motorcycle detailing quote.